
"Pass It Into the Corner": Teaching 7–9 Year Olds to Finish with Confidence
At ages 7–9, your players are sitting in one of the most valuable developmental windows they'll ever have. Their brains are wired right now to absorb movement patterns — and shooting technique is one of the best investments you can make with that neuroplasticity. The problem is that…
“Pass It Into the Corner”: Teaching 7–9 Year Olds to Finish with Confidence
At ages 7–9, your players are sitting in one of the most valuable developmental windows they’ll ever have. Their brains are wired right now to absorb movement patterns — and shooting technique is one of the best investments you can make with that neuroplasticity. The problem is that most youth sessions either skip the fundamentals entirely or turn shooting into a power contest nobody wins. Here’s how to build real finishing habits from the ground up.
Why this matters at this age
The Football Association of Singapore National Football Curriculum U8–U12 describes the U9–U12 window as the “Golden Age of Learning” — a critical phase for sport-specific technical development. That window starts opening right now, at age 7. Motor patterns laid down in this period tend to stick. If a kid grooves clean side-foot technique at age 8, that template travels with them. If they spend these years toe-poking and blasting at full power, those habits travel too.
US Soccer’s Coaching Curriculum assigns shooting the highest possible workload rating — a “5 (very high)” — across every age group from U6 through U20. The implication is direct: finishing work belongs in every single session, not just the weeks before a tournament. This isn’t about turning 8-year-olds into goal machines. It’s about ensuring the technique foundation is in place before physical development starts complicating things.
The good news? England Football Learning points out that roughly 60–70% of goals in football are scored from inside the penalty area. That means close-range finishing — exactly the kind of activity that builds confidence and keeps young players engaged — is also the most game-relevant skill to develop. You don’t need to manufacture complexity. Set up small goals close to the net, let kids score, repeat.
Finally, this is the window to establish two-footed shooting. Children naturally favor their dominant foot, and without deliberate practice on the other side, asymmetry gets locked in. The US Youth Soccer Skills School Manual is explicit: accuracy with the inside of the foot must be established before power is added, and both feet need attention from day one.
Core concepts
*Side Foot Placement* Side-foot (inside-of-foot) finish — striking the ball with the inside of the foot, using the broad flat surface for maximum contact area. This is the most reliable finish for this age group and the foundation everything else builds on. Think of it as a firm pass into the corner of the net rather than a shot — that mental cue alone removes the urge to blast.
*Instep Drive* Instep (laces) drive — striking through the center of the ball with the laces. Introduced at this age for basic mechanics only. The US Youth Soccer Skills School Manual is clear: plant foot beside the ball, knee over the ball, ankle locked, toes pointed down, follow through with knee raised to keep the ball low. Power is explicitly not the goal here.
*Accuracy Before Power* Accuracy before power — the governing consensus, stated explicitly in the US Youth Soccer Skills School Manual, is that clean, controlled contact and placement must be established before adding power to any technique. “Shoot harder” is the wrong coaching instruction at this age.
*Bilateral Development* Bilateral development — training both feet deliberately and systematically from the start. This is the optimal developmental window to establish those patterns; leaving the weaker foot to chance means it stays weak.
*Body Shape Fundamentals* Body shape at contact — head down and eyes on the ball at the moment of contact; body leaning over the ball (not back, which causes ballooning); non-kicking foot placed alongside the ball, not behind it. These three checkpoints cover most of the common errors.
*Keeper Awareness* Keeper awareness (introductory) — a single “look up before you shoot” prompt to help players notice where the goalkeeper is before striking. The Sport Session Planner U9 technical session frames it simply: observe the keeper’s position, then choose where to place the ball. No full decision tree at this age — just the habit of scanning first.
Progression
Stage 1 — Still ball, dominant foot
Player places a stationary ball 6–8 yards from a large goal and strikes with the inside of the foot. One cue from the coach: “Plant foot next to the ball, head down.” Success = ball stays on the ground and rolls into the corner. No power target. Run this for 8–10 reps before moving on.
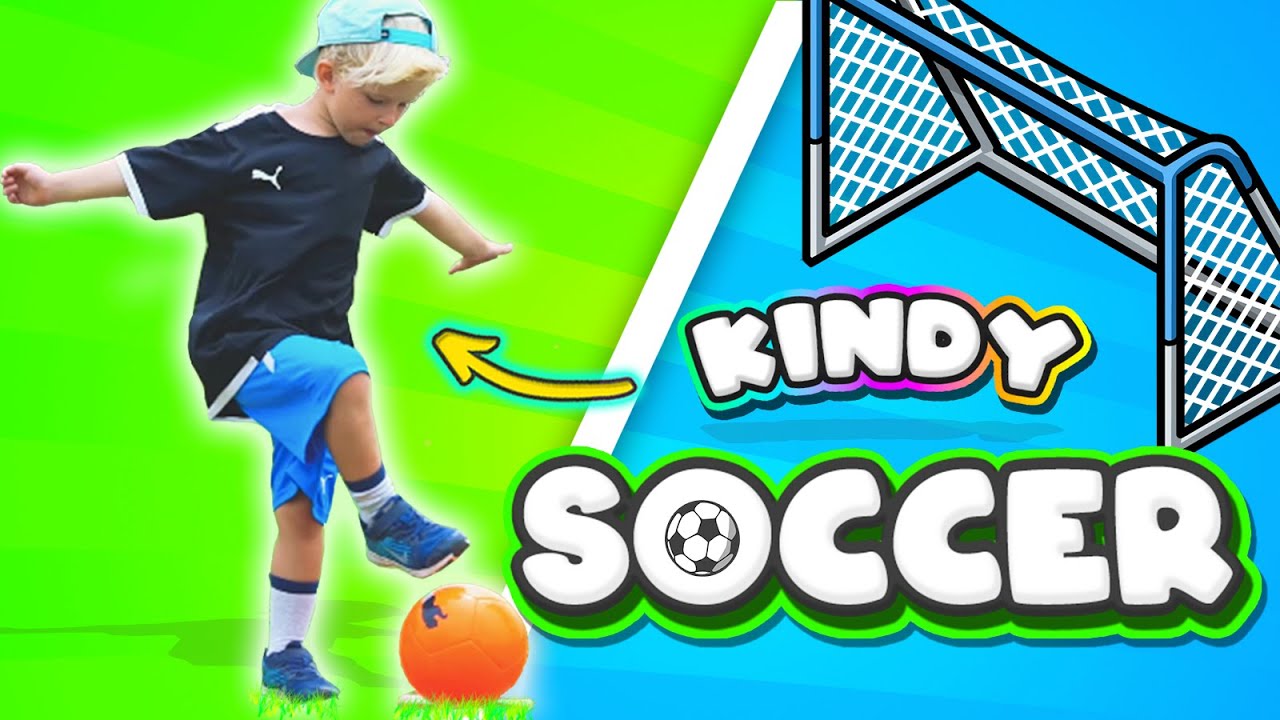 ▶ Watch on YouTube
Kindergarten SOCCER skills (Lesson 2): Ball control ⚽️ — by Prime Coaching Sport on YouTube.
Stage 2 — Still ball, weaker foot
Identical setup, non-dominant foot only. Normalize this immediately — don’t treat the weaker foot as a “bonus” round. Make it half the reps, every session, from the first day you introduce shooting. Players who resist can be told matter-of-factly: “Every good player uses both feet.”
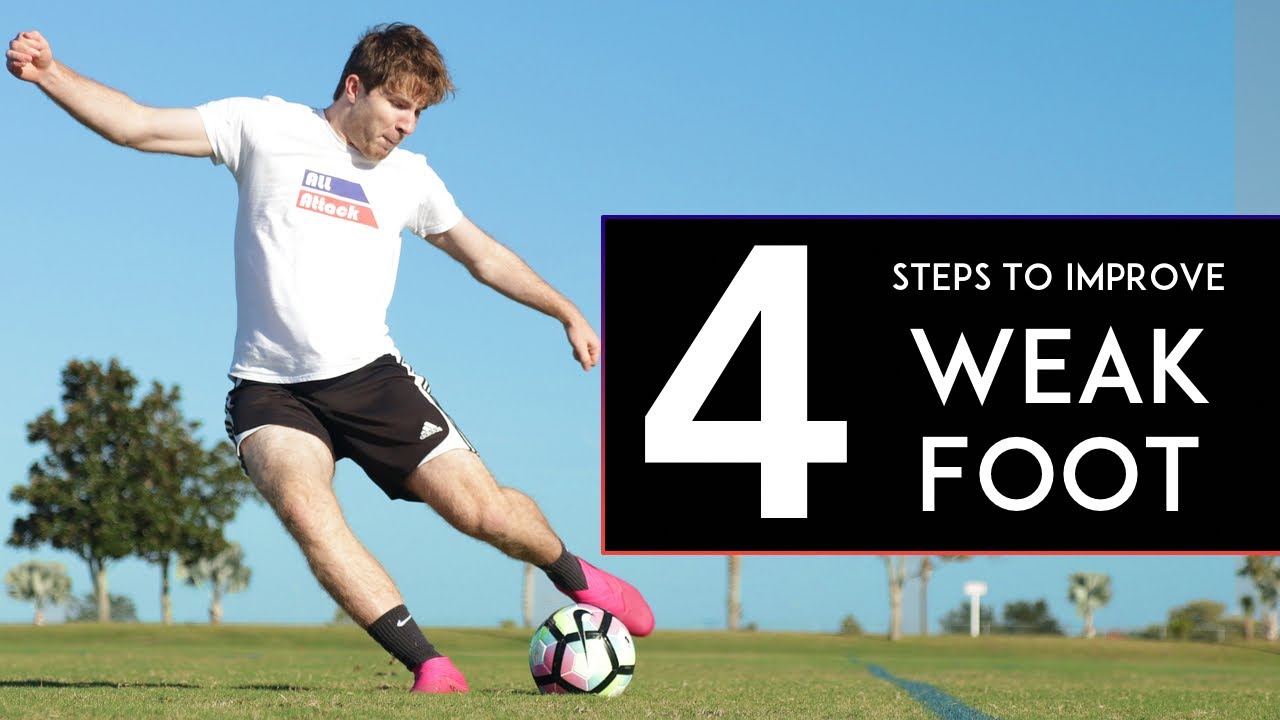 ▶ Watch on YouTube
4 EASY STEPS to Improve Your WEAK FOOT — by AllAttack on YouTube.
Stage 3 — Still ball, instep drive (controlled)
Player strikes a stationary ball with the laces. Coach cue: “Knee over the ball, ankle locked.” The explicit objective is a low, controlled drive — not a blast. If the ball is going high, the knee isn’t over the ball. Run this with both feet once players are comfortable with Stages 1 and 2. This stage typically fits comfortably into sessions with 8–9 year olds; 7-year-olds may need more time in Stages 1–2 first.
 ▶ Watch on YouTube
#6. How to teach: Shooting/striking › Key teaching points | Soccer skills in PE (grade K-6) — by Prime Coaching Sport on YouTube.
Stage 4 — Rolled ball, inside foot
Coach or partner rolls the ball across the player’s path from 5–6 yards. Player times the approach, sets the plant foot alongside the arriving ball, and side-foots into the corner. This introduces timing without adding defensive complexity. The Scottish FA Phase Three Coaching Sessions identify this “Control and Shoot” transition as a key step in the progression. Key cue: “Wait for the ball, then plant.”
▶ Watch on YouTube
Kindergarten SOCCER skills (Lesson 2): Ball control ⚽️ — by Prime Coaching Sport on YouTube.
Stage 5 — Dribble and shoot
Player starts 10 yards from goal, dribbles at a gentle pace, and finishes. The decision “when do I stop dribbling and set up my shot?” is the new element. Run it with both feet — designate some reps as right-foot finish, some as left. Coach cue: “Take a touch to set up, then pass it into the corner.”
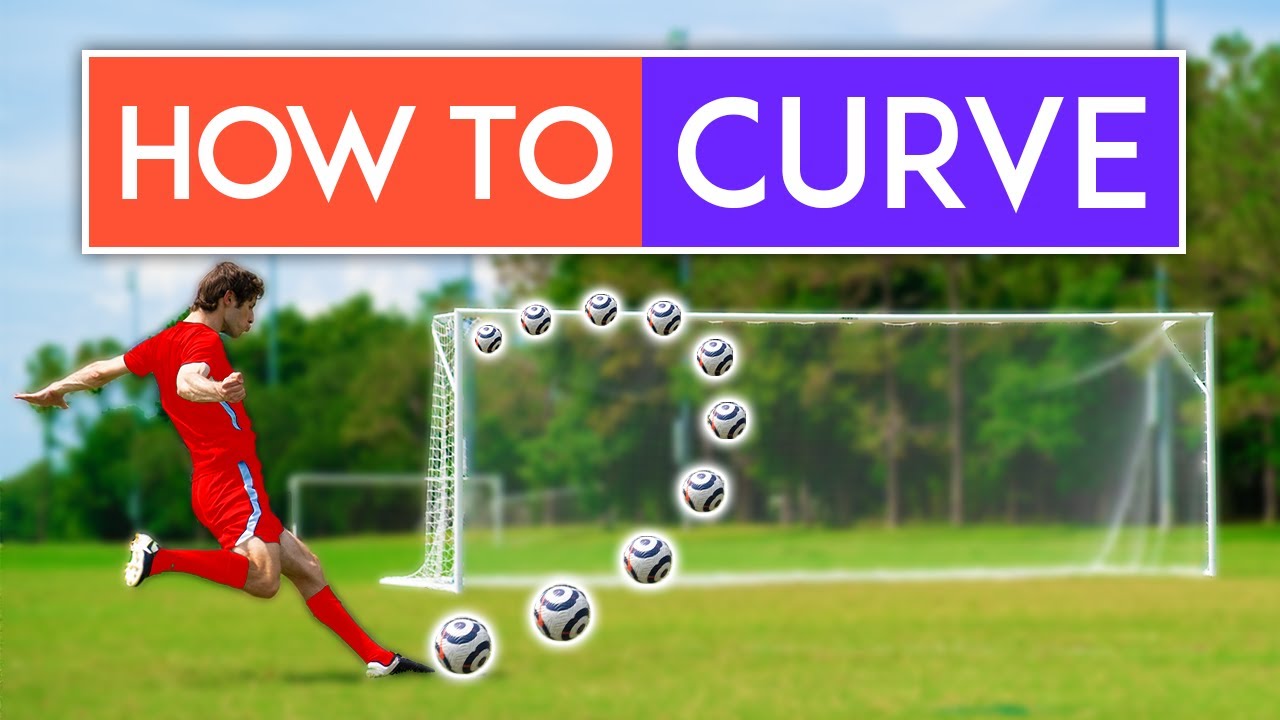 ▶ Watch on YouTube
How to Shoot with CURVE in Soccer — by AllAttack on YouTube.
Stage 6 — Control and shoot (simple sequence)
Two-player sequence: one player passes from the side, the other takes a positive first touch to set up the shot and finishes. This matches the Scottish FA “Control and Shoot” framework exactly. Emphasis stays on the quality of the first touch and the placement of the shot — not speed. Rotate partners and restart feet.
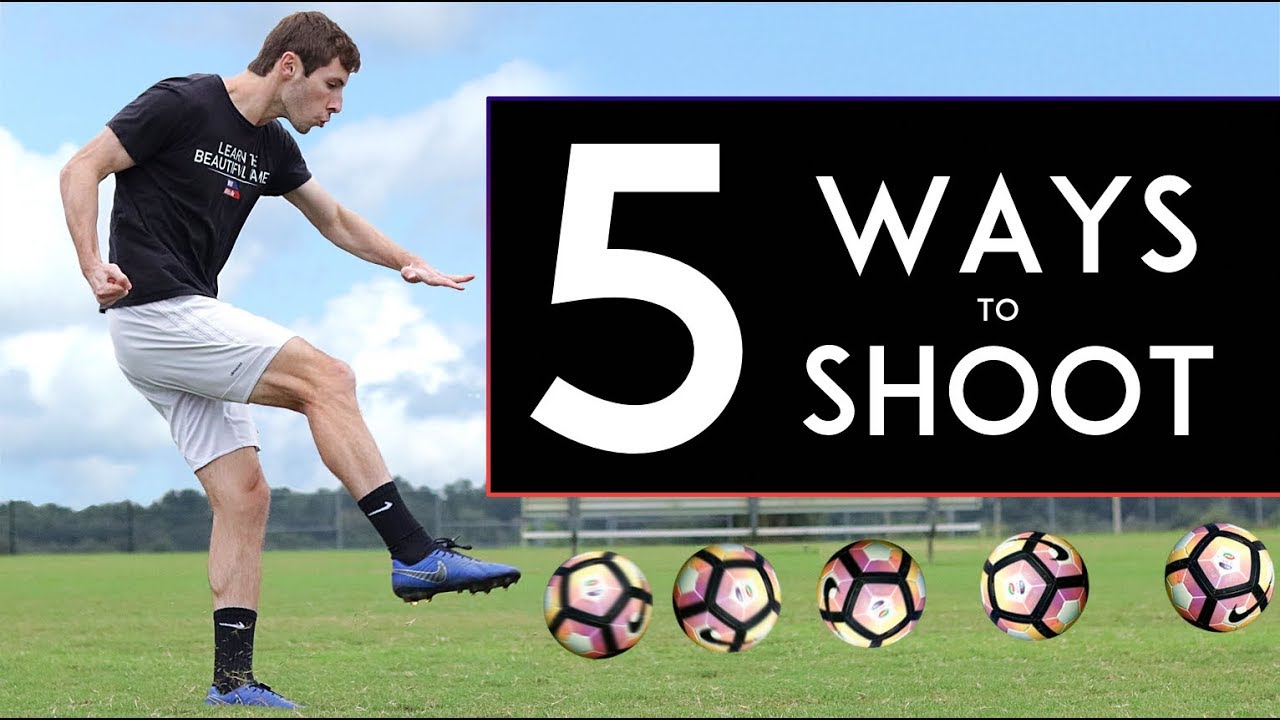 ▶ Watch on YouTube
TOP 5 WAYS to SHOOT a Ball and SCORE MORE GOALS — by AllAttack on YouTube.
Stage 7 — Small-sided game with finishing theme
3v3 or 4v4 with large goals and a rotating goalkeeper. Finishing happens in a natural game context. The coach’s job here is to highlight good shooting moments after the fact (“Nice — you kept your head down and passed it low”) rather than stopping play constantly. The US Soccer Coaching Curriculum structure suggests approximately 30% of session time in scrimmage, so this stage should take up a meaningful chunk of the session.
Suggested program / schedule
This is a template for a 60-minute session built around shooting. Adapt the duration of each block to your group’s age and attention span.
| Block | Activity | Time | Focus |
|---|---|---|---|
| Warm-up | Free dribbling, ball mastery moves | 8 min | Touch and movement |
| Technical block A | Stages 1–2: still ball, inside foot, both feet | 10 min | Placement, body shape |
| Technical block B | Stage 3: controlled instep drive, both feet | 8 min | Locked ankle, knee over ball |
| Progression drill | Stage 4 or 5: rolled ball or dribble-and-shoot | 10 min | Timing, setup touch |
| Small-sided game | 3v3 or 4v4, large goals, rotating GK | 18 min | Game-realistic finishing |
| Cool-down / review | Juggling or passing circle; one coaching point highlighted | 6 min | Reflection, fun |
For a two-sessions-per-week schedule, rotate the progression drill between Stages 4/5 (Session 1) and Stage 6 (Session 2) so players encounter all movement patterns across the week.
Mistakes to avoid
Rewarding power over placement. When coaches or parents cheer loudest for the hardest shots, kids optimize for that — mechanics break down and poor contact gets reinforced. Cheer for goals that roll into the corner cleanly.
Letting the plant foot land behind the ball. This is the single most common technical error at this age. The body leans back, the shot balloons, and the player learns nothing useful. One cue fixes it: “Plant foot next to the ball, not behind it.”
Dropping eye contact before contact. Looking up too early — to see where the ball is going before you’ve actually hit it — kills accuracy. The cue “head down, eyes on the ball” should be the most repeated phrase in your shooting sessions, per the Sport Session Planner U9 technical session.
Skipping the weaker foot. Without deliberate scheduling, the weak foot simply doesn’t get reps. Build it into the session structure so it’s never optional.
Running a single-line shooting drill. Long queues at one goal mean low repetitions, bored kids, and wasted developmental time. Set up multiple small goals with small groups so the reps stay high.
Only drilling static, unopposed finishing. Technique from a stationary ball is an entry point, not an endpoint. England Football Learning is clear that finishing composure, timing, and decision-making develop through game-like play — not just queuing up to shoot at an empty net.
Piling on too many coaching cues at once. Seven-to-nine year olds can meaningfully absorb one to two coaching points per repetition. More than that and the information doesn’t land. Pick one cue per activity block and stick with it.
Coaching maximum-effort power shots. Beyond the technique damage, repetitive maximal kicking loads are not appropriate for pre-pubescent athletes from a growth plate standpoint. The emphasis on controlled, accurate contact protects both mechanics and physical development.
When to advance
Move from Stage 1 to Stage 2 when: the player consistently contacts the center of the ball with the inside of the foot and the ball stays on the ground for 7 out of 10 reps.
Move from Stage 2–3 to Stage 4 when: both feet can produce a clean, low contact from a stationary ball without the plant foot ending up behind the ball.
Move from Stage 4 to Stage 5 when: the player can time a rolled ball and set the plant foot correctly without rushing — 6 out of 8 reps result in an on-target, low finish.
Move from Stage 5 to Stage 6 when: the player self-regulates the dribble-to-shot transition and doesn’t need a verbal reminder to “set up” the strike.
Move to regular Stage 7 (small-sided game with finishing emphasis) when: the player can execute clean side-foot placement and a basic instep drive from a moving ball in unopposed conditions. Note that 9-year-olds, who are closer to the “Golden Age of Learning” transition, will typically reach this threshold earlier than 7-year-olds in the same group.
If a player has persistent discomfort in the hip, knee, or ankle related to kicking, stop shooting activities and refer to a qualified sports medicine or physiotherapy professional.
Further reading
- Accuracy Before Power — Why placement beats power: the developmental case
- Bilateral Development — Building a two-footed player from age 7
- Ltad Fundamental Stage — What the Long-Term Athlete Development model means for your U9 practice
- Dribble And Shoot Both Feet — Full drill guide with cues, variations, and progressions
- Small Sided Games Finishing — Using 3v3 and 4v4 to develop real finishing decisions
Sources
- US Youth Soccer Skills School Manual (2017) — governing-body — https://www.usyouthsoccer.org/wp-content/uploads/sites/160/2023/09/2017-Skills-School-Manual.pdf
- U.S. Soccer Coaching Curriculum (Full) — governing-body — https://cdn2.sportngin.com/attachments/document/0073/5091/Full_U.S._Soccer_Coaching_Curriculumnew.pdf
- How to coach players on finishing in football — governing-body (England Football Learning / The FA) — https://learn.englandfootball.com/articles-and-resources/coaching/resources/2022/How-to-coach-shooting-in-football
- Football Association of Singapore National Football Curriculum U8–U12 — governing-body — https://fas.org.sg/wp-content/uploads/2024/01/National-Football-Curriculum-U8-to-U12.pdf
- Scottish FA Phase Three Coaching Sessions for Children and Young People — governing-body — https://www.scottishfa.co.uk/media/6779/phase-three-coaching-sessions-for-children-young-people.pdf
- Shooting U9 — Technical Session (Sport Session Planner, FA-framework aligned) — practitioner — https://www.sportsessionplanner.com/s/oqpgb/Shooting-U9.html?interface=en